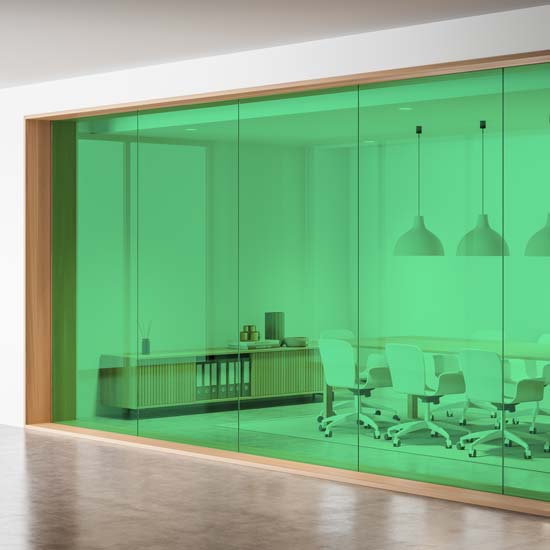
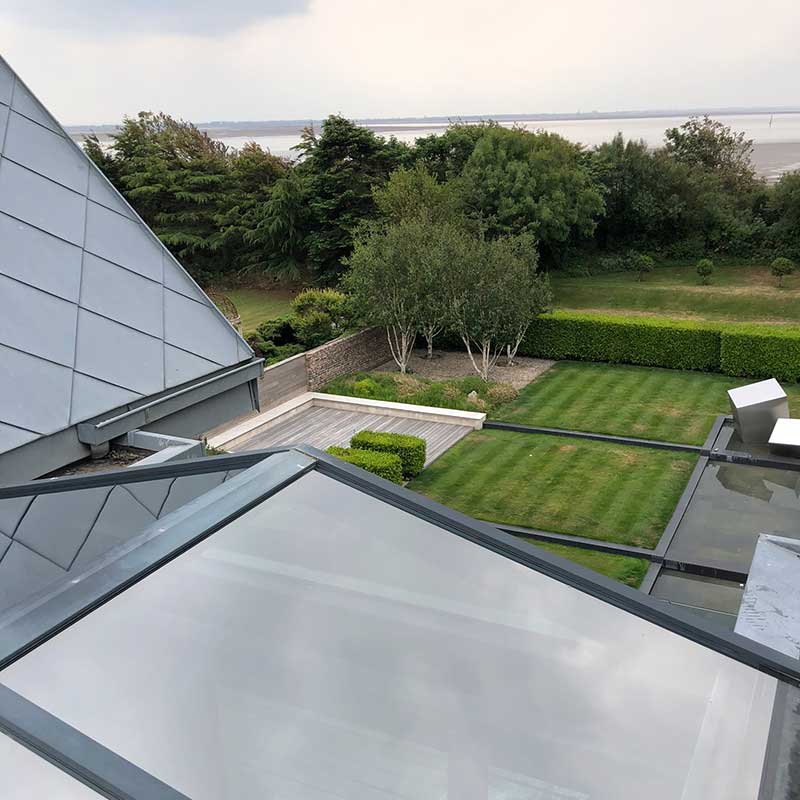
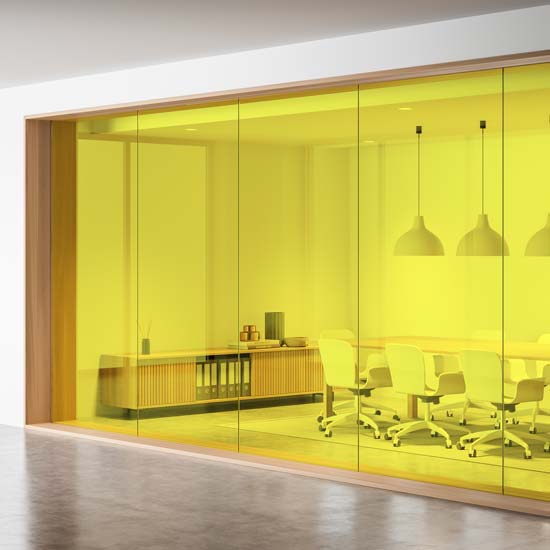
Our dark tinted window film is ideal for reducing heat and glare. This film is available cut to length. Please check for compatibility with your windows (see below). A Sample is available for this Product
Want to practice installation first?
All orders are sent with a FREE offcut piece of similar window film.
More info...
Use the page TABS above to learn more about this product.
Solar Control Window Film is designed to reflect heat away from your windows, keeping the room inside cool. The dark reflective window film is the most effective at doing this. It also removed over 99% of UV rays which are the major cause of carpets and furniture fade.
2 reviews for 80% Tinted Window Film
Only logged in customers who have purchased this product may leave a review.
Compatibility
| Clear single pane | Yes |
| Tinted single pane | Yes |
| Reflective tinted single pane | Yes |
| Clear double pane (non toughened) | No |
| Clear double pane (toughened glass) | Yes |
| Clear laminated single pane | No |
| Clear laminated double pane | No |
| Tinted double pane (non toughened) | No |
| Tinted double pane (toughened glass) | Yes |
| Low-E double pane | No |
| Gas filled double pane | No |
| Triple pane | No |
Additional information
| Width | 1000mm, 1520mm |
|---|---|
| Length | 1m, 1.5m, 2m, 2.5m, 3m, 3.5m, 4m, 5m, 6m, 7m, 8m, 9m, 10m, 12m, 14m, 16m, 18m, 20m, 22m, 24m, 26m, 28m, 30m |
How to Guide
When installing window film, patience and preparation will serve you well.
First Steps:
Preparing the glass is a vital part of the process. In a spray bottle, mix clean water with a few droplets of washing ups liquid. Spray the glass and thoroughly clean it, paying close attention to the edges. If there are any specks of dirt or paint, use a small scraper to remove them.
The Film:
Unless your film has been pre-cut to the exact glass size, measure your glass at the top and bottom to ensure accuracy. Lay your film flat and cut it to your required size. If you prefer you can cut the film over size and trim on the glass.
The principles of handling film are the much the same no matter what kind of film you are using. Once you are happy with the size of your piece of film, lay it on a clean surface and slowly remove the clear liner. Get someone to help you if it makes it easier.
Spray the adhesive surface of the film and the glass window surface with more of your soap mix then hang the film to the glass. The two wetted surfaces will not immediately stick and some adjustment is possible.
Squeegee:
Once you are happy with the positioning of your film, liberally spray the surface of the film. This will act as a lubricant for your squeegee or felt edged tool.
Starting in the centre at the top edge and using firm pressure, push the water out from behind the film towards the side edge, then repeat in the opposite direction. Then from the centre of the top edge push the water down towards the bottom edge so you have a ’T’. Your film should now be securely in place.
If you are applying a solar or safety film, apply as much pressure as possible to remove the water. You may need a specialist squeegee for this process.
Starting at the top and working down to the bottom, push all the water out towards the edges. Repeat on the other side.
Run a credit card and a sharp craft knife down each edge and across the bottom to trim off any excess film. The thickness of the card will allow for a small gap for any excess liquid to be squeegee’d out. Once the film has been trimmed, wet the surface and run the squeegee over again using the same technique as before.
Final Checks:
After the film has been applied, dry every edge and the surface with a paper towel. Be thorough and careful, especially in the corners. Make sure all the water, or as much as possible, has been removed from behind the film.
Check your installation from both sides of the glass. Often something will not reveal itself unless viewed from a different perspective, especially with reflective films.
If you notice small bubbles that start to appear after all the water seemed to have gone, this is perfectly natural and part of a ‘curing process’.
Finally, stand back and admire your work. We would love to see how you did, tag us in your post on social media at @Lustaluxathome.
After Care
Visit our dedicated After Care Instructions page for details.


A Shearer (verified owner) –
I just wanted something simple to reduce the glare in my home office. This works great and means i don’t have to have the blinds down all the time. I can see out the window like nothing has changed, but you cant see in from the outside which is an added bonus.
H Casey (verified owner) –
Look great, works well.