Loading...

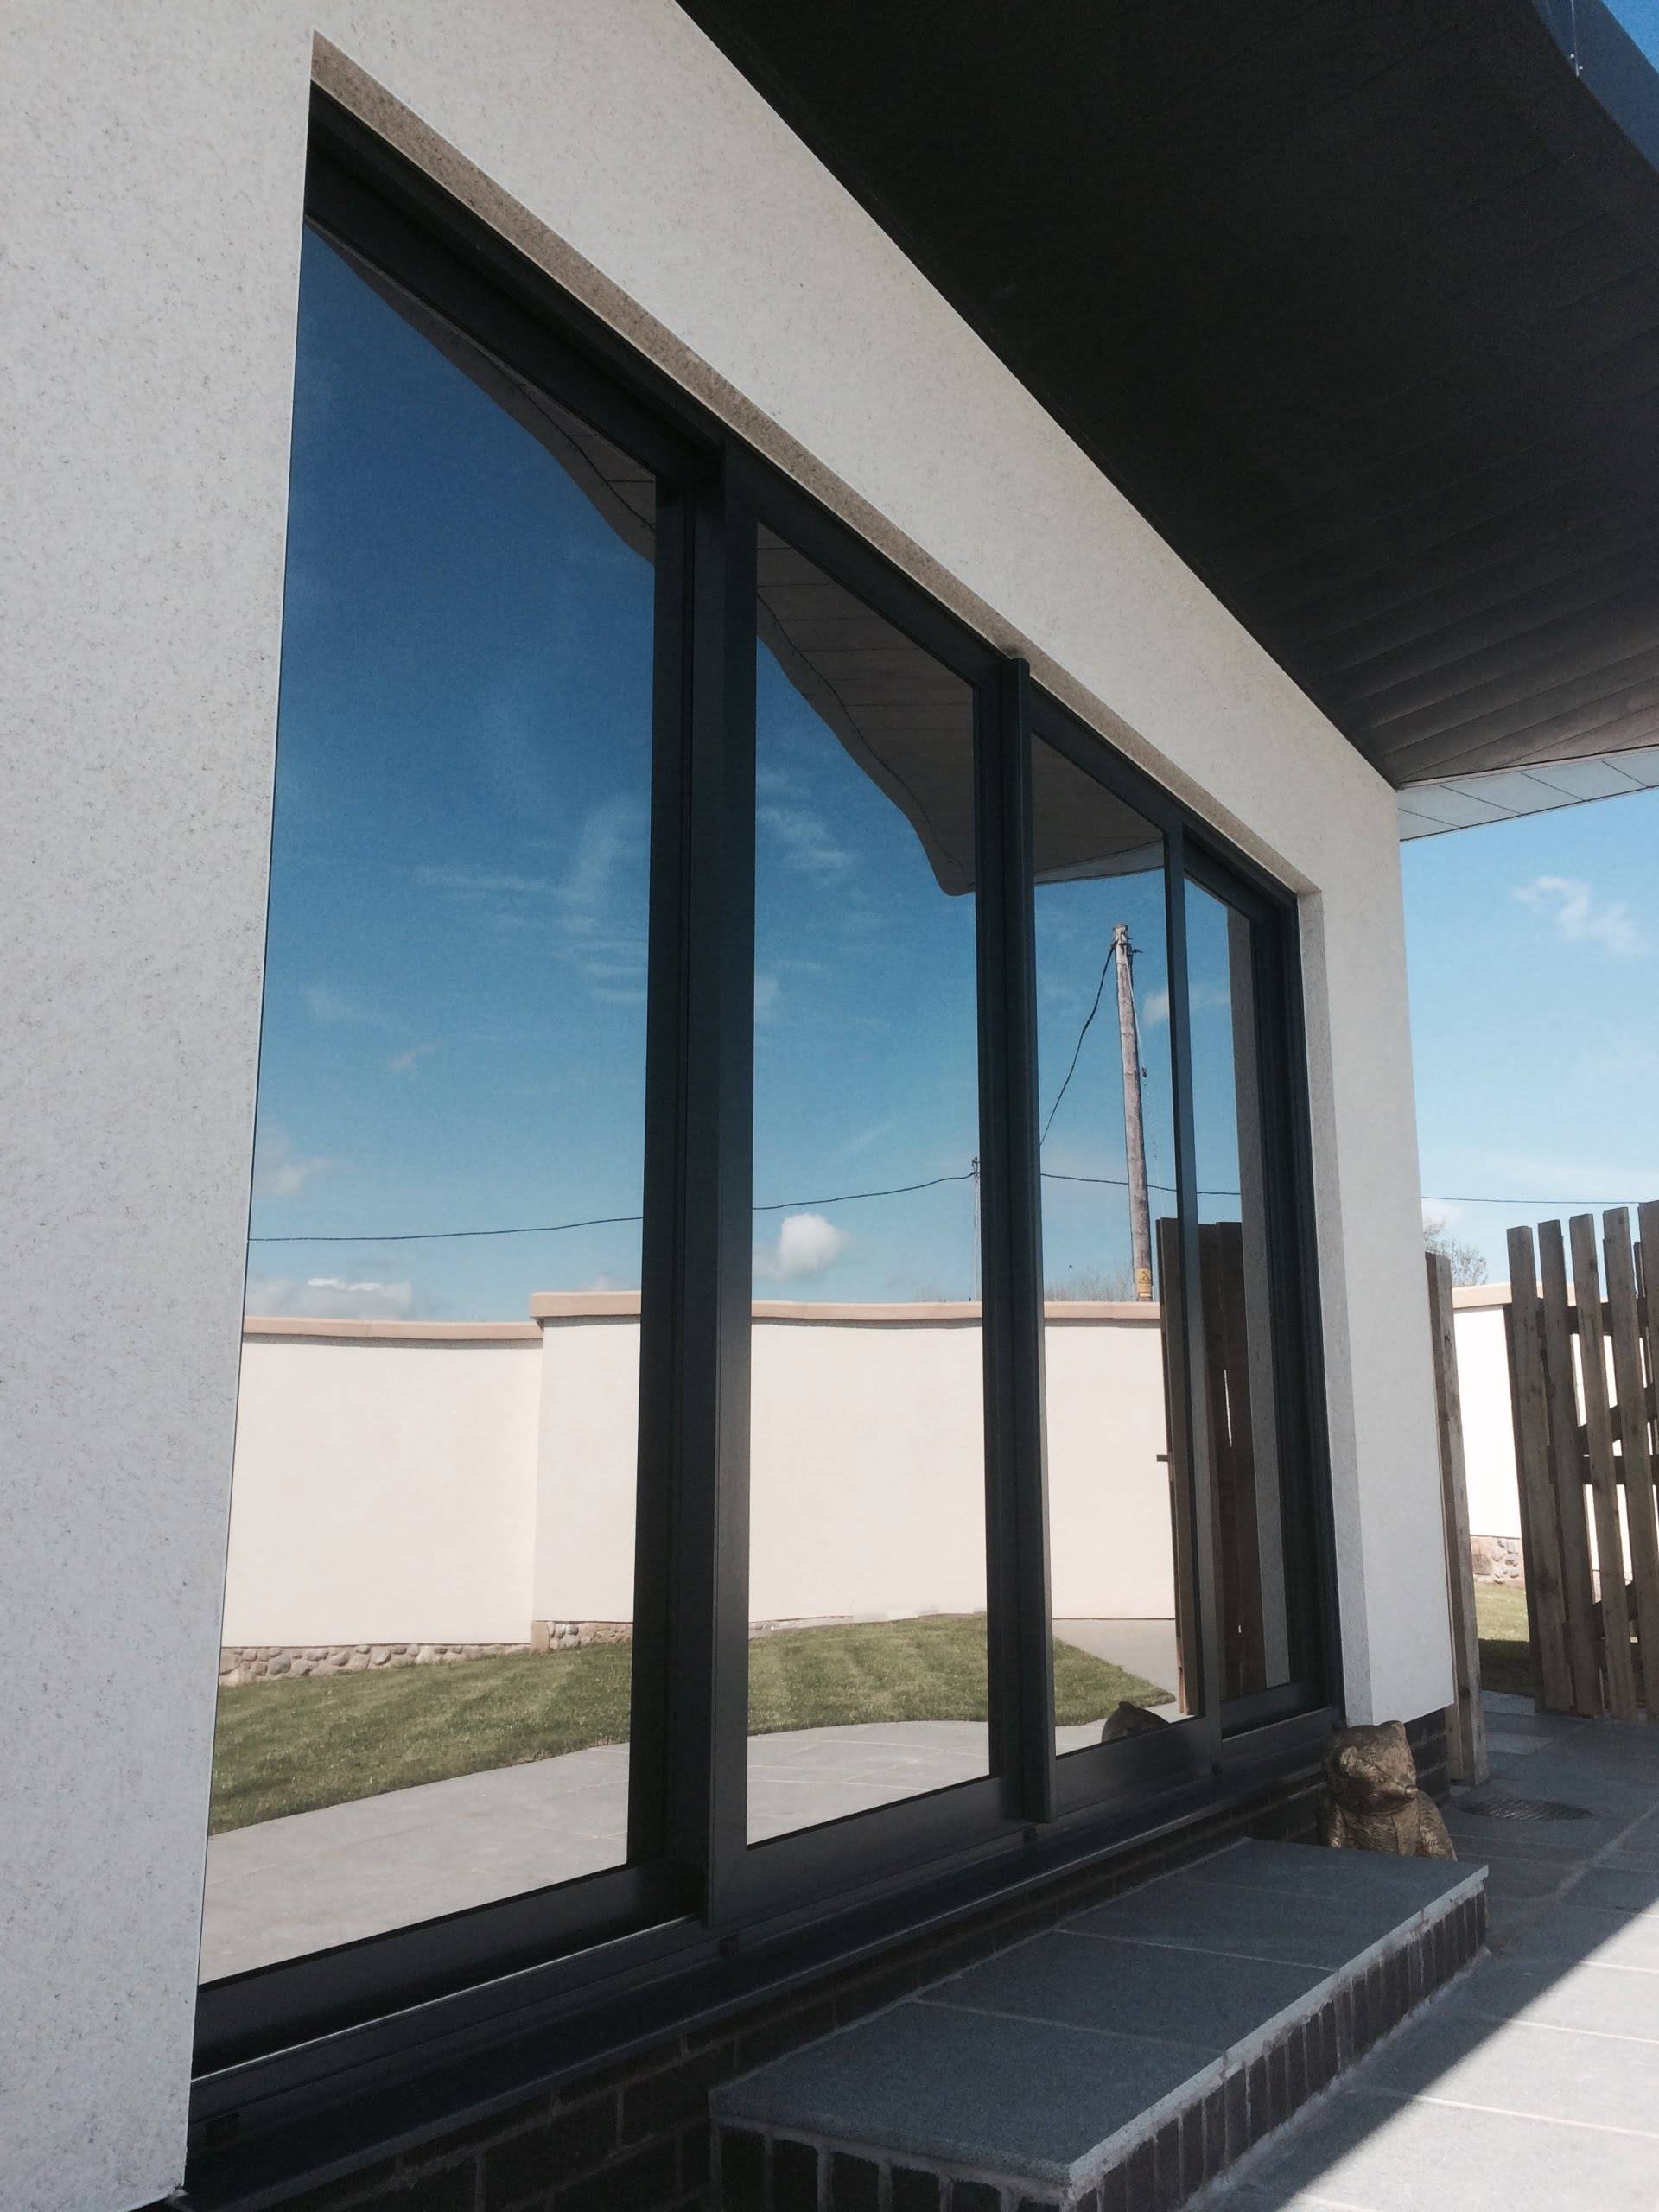

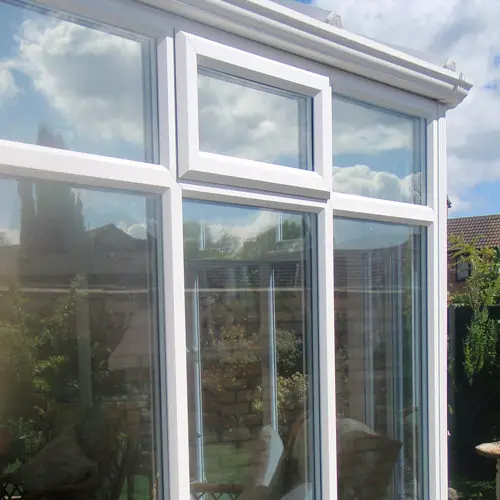
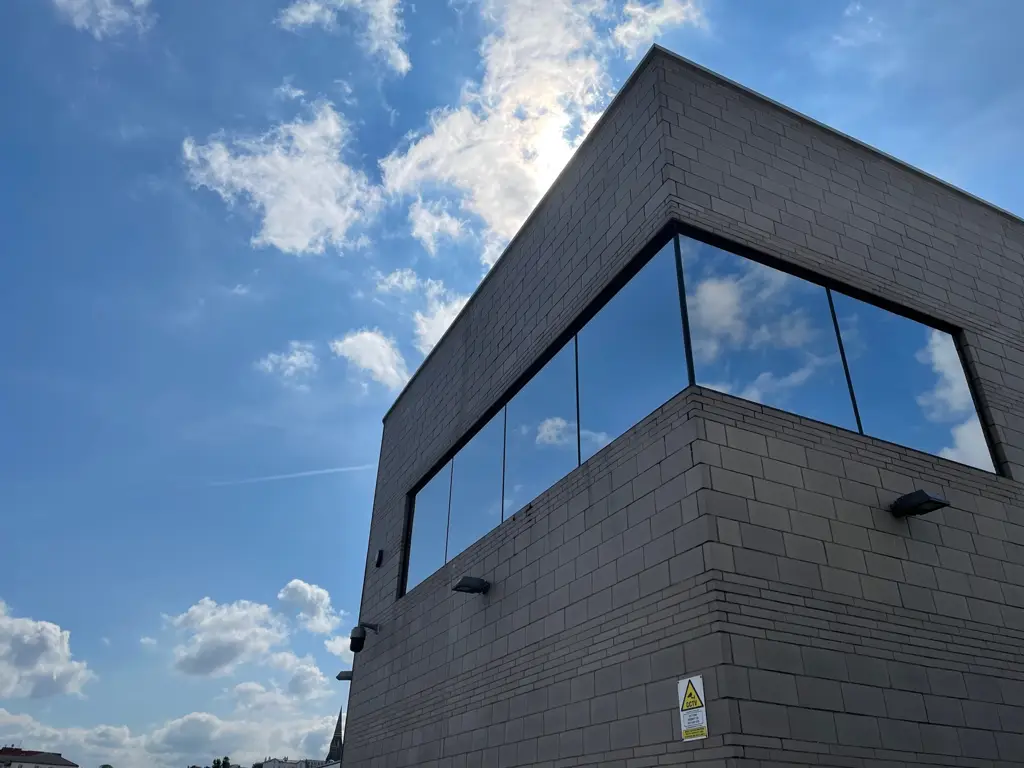
Mirrored Window Film also known as Mirror Film, 80% Silver Window Film, Reflective Window Film and One Way Window Film reflects heat away from your windows, keeping the room inside cooler. Our Mirrored Window Film is the most effective at reducing glare by up to 80%, reducing heat gain by over 55% and reducing UV rays by 99%. Home window tinting has never been easier.
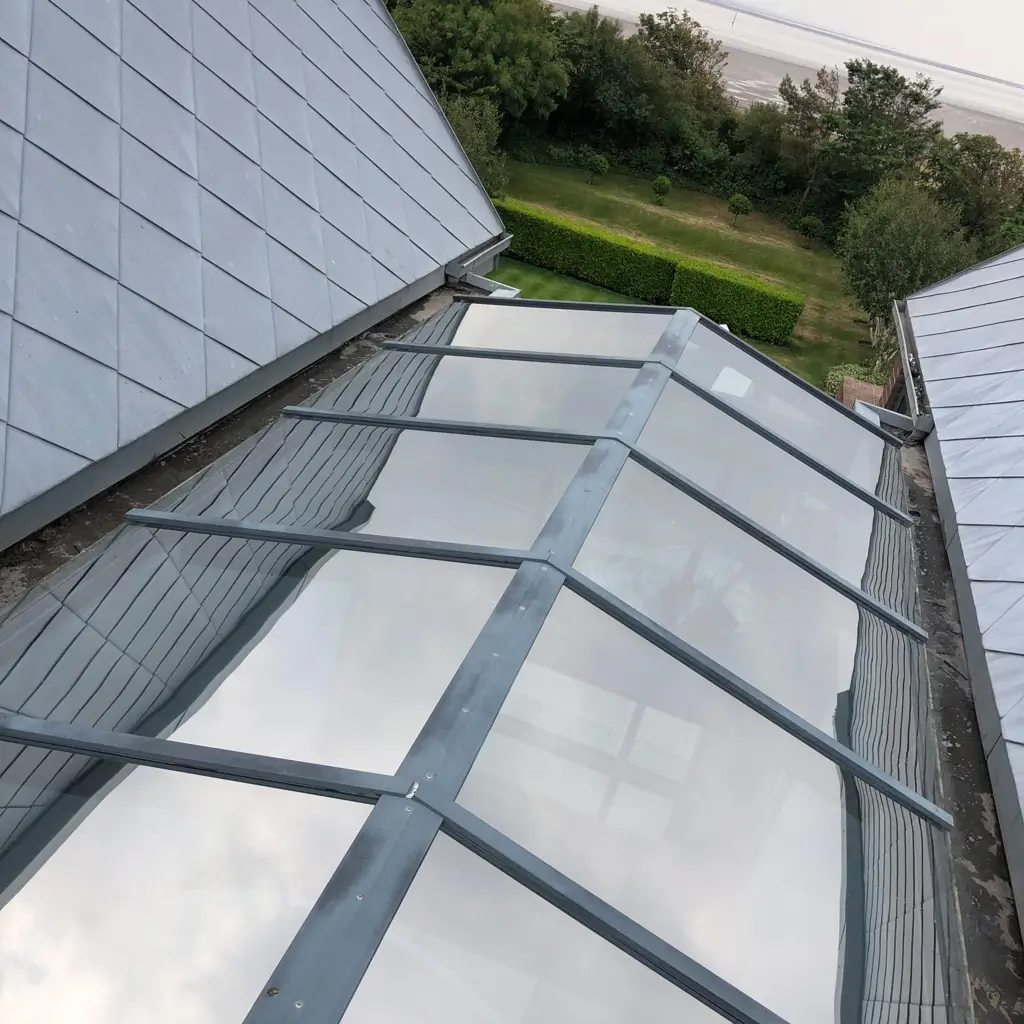
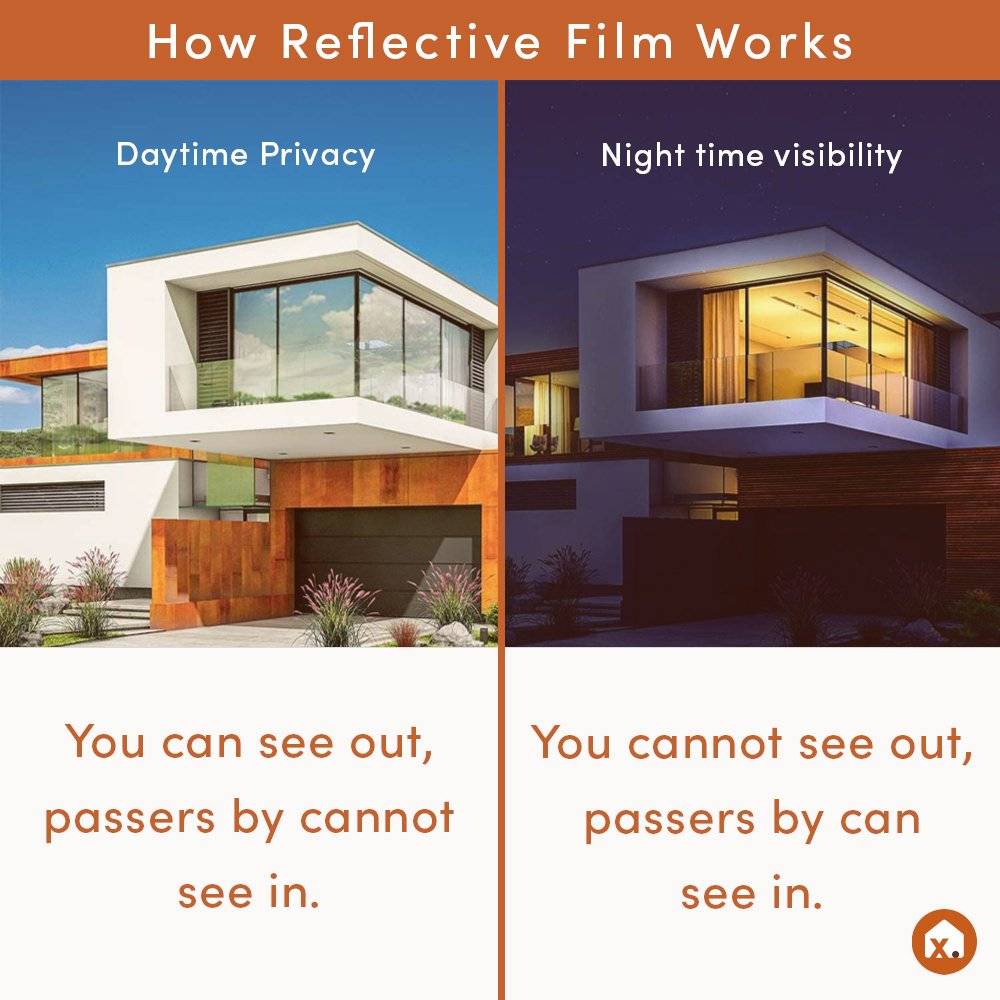
Our 80% Silver Reflective Window Film also offers great daytime privacy due to it's reflectivity. *Achieving one way vision is dependent on having the correct light levels between both sides of the glass. This is not normally an issue during daylight hours however in some circumstances, when there may be other non-filmed glazed areas in a room (such as a glazed roof) this may nullify the “one way” effect.
This film is recommended for daytime privacy as the effect of the mirror does flip at night time so we recommend blinds or curtains after dark.
Suitable for domestic or commercial use.
Our range of one way mirror glass film options allows you to choose from a subtle tint to a striking mirrored effect, all while ensuring seamless integration with your windows. However, it's essential to keep in mind that our reflective mirror window film may not be suitable if you need privacy between internal rooms or have windows that are backlit by external sources. This is because the film is one sided mirror film and functions by reflecting light, which may have the reverse effect during night time. We encourage you to consider this aspect before applying the film to your office windows.
Each of the one-way window films that we offer is the most reflective and provides the greatest heat reflection helping to keep your house cooler in the height of the summer. Simply take the reflective window film and peel it from the backing and place it on the internal window surface. This can benefit you in the long term by providing you with the privacy that you need.
For information on Mirror Films please see our FAQ page.
01
First steps
Preparing the glass is a vital part of the process. in a spray bottle, mix clean water with a few droplets of washing ups liquid. spray the glass and thoroughly clean it, paying close attention to the edges. if there are any specks of dirt or paint, use a small scraper to remove them.
02
The film
Unless your film has been pre-cut to the exact glass size, measure your glass at the top and bottom to ensure accuracy. lay your film flat and cut it to your required size. if you prefer you can cut the film over size and trim on the glass.
the principles of handling film are the much the same no matter what kind of film you are using. once you are happy with the size of your piece of film, lay it on a clean surface and slowly remove the clear liner. get someone to help you if it makes it easier.
spray the adhesive surface of the film and the glass window surface with more of your soap mix then hang the film to the glass. the two wetted surfaces will not immediately stick and some adjustment is possible.
03
Squeegee
Once you are happy with the positioning of your film, liberally spray the surface of the film. this will act as a lubricant for your squeegee or felt edged tool.
starting in the centre at the top edge and using firm pressure, push the water out from behind the film towards the side edge, then repeat in the opposite direction. then from the centre of the top edge push the water down towards the bottom edge so you have a ’t’. your film should now be securely in place.
*if you are applying a solar or safety film, apply as much pressure as possible to remove the water. you may need a specialist squeegee for this process.*
starting at the top and working down to the bottom, push all the water out towards the edges. repeat on the other side.
run a credit card and a sharp craft knife down each edge and across the bottom to trim off any excess film. the thickness of the card will allow for a small gap for any excess liquid to be squeegee’d out. once the film has been trimmed, wet the surface and run the squeegee over again using the same technique as before.
04
Final checks
After the film has been applied, dry every edge and the surface with a paper towel. Be thorough and careful, especially in the corners. Make sure all the water, or as much as possible, has been removed from behind the film.
Check your installation from both sides of the glass. Often something will not reveal itself unless viewed from a different perspective, especially with reflective films.
If you notice small bubbles that start to appear after all the water seemed to have gone, this is perfectly natural and part of a ‘curing process’.
Finally, stand back and admire your work. We would love to see how you did, tag us in your post on social media at @lustaluxdirect.
First steps
Installation drying times
The solution used during the installation of your window film may require a dry-out time. cold or dull weather conditions can lengthen the dry-out time, while warm weather and direct sunlight exposure will shorten the dry-out time. small water beads and a slightly cloudy look may appear during the dry-out time.
Cleaning a window that has film applied
A simple solution of fresh clean washing up liquid and water will work fine and you can also use your usual glass cleaner spray. a soft cloth or synthetic sponge is recommended for washing the window film, followed by a clean soft cloth or soft rubber squeegee for drying. avoid scratching the film, do not use bristle brushes or abrasive scrubbing sponges.
Other considerations
A fine light line may be visible at the edge of the window film. this is necessary to aid in the removal of water from behind the film and also to achieve a straight trim to the frame. the darker the film is, the more prominent the light line can be. this is perfectly normal.
avoid sticking anything to the window film surface. sellotape or blu-tack can damage the film when removed.
window film cannot be repaired, only replaced.
summary
- allow drying time for solution to evaporate.
- use mild soap and soft cloths for cleaning.
- avoid abrasive tools or harsh chemicals.
- do not stick adhesives to the film surface.
0.0
★★★★★
based on 0 reviews
5 stars
0
4 stars
0
3 stars
0
2 stars
0
1 stars
0
no reviews yet. be the first!